Installation Guides
Windows Computers
Windows Computers
These instructions are for installing Read&Write on personal machines. If you have a managed Ul computer, contact your local support consultants or check Windows Software Center or macOS Self Service first, because the application might already be available.
- Download Read&Write from the ITS Software Download site.
- Extract the RW12.zip file.
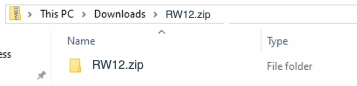
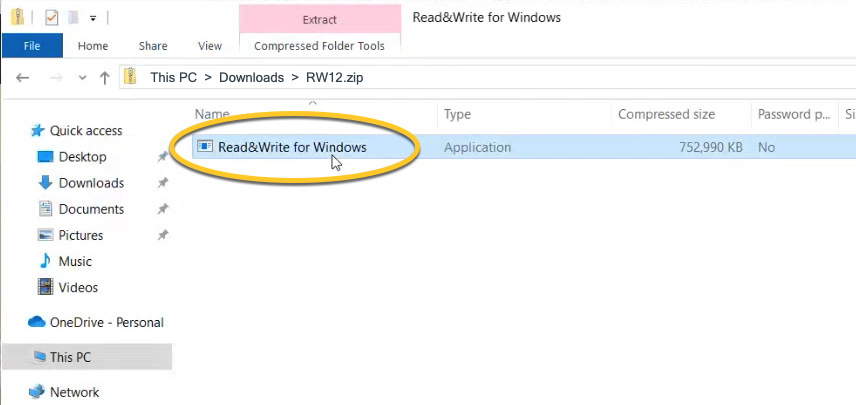
- Open the RW12.zip folder.
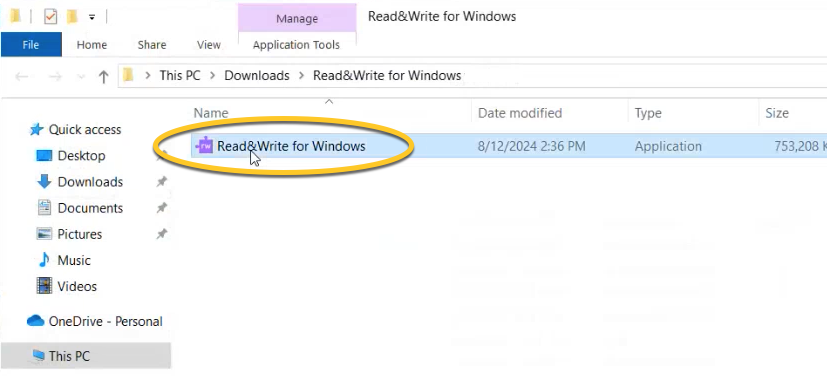
- Double click on the Read&Write application.
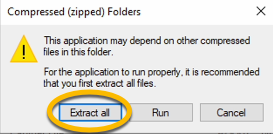
- Select Extract All from the Compressed (zipped) Folders pop-up window.
- Open the Read&Write application.
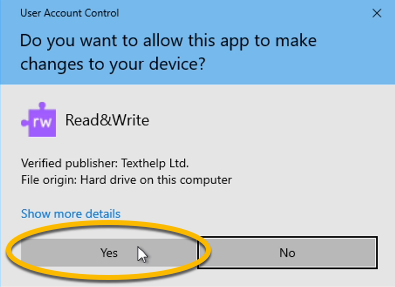
- Another pop-up window will ask if you want to allow Read&Write to make changes, select Yes.
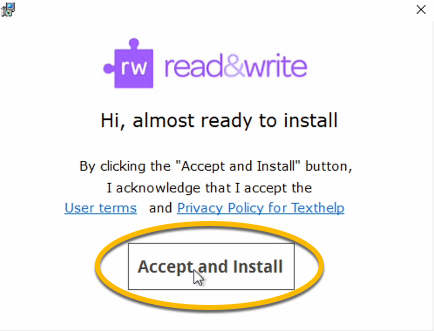
- Click Accept and Install on the Read&Write dialog box.
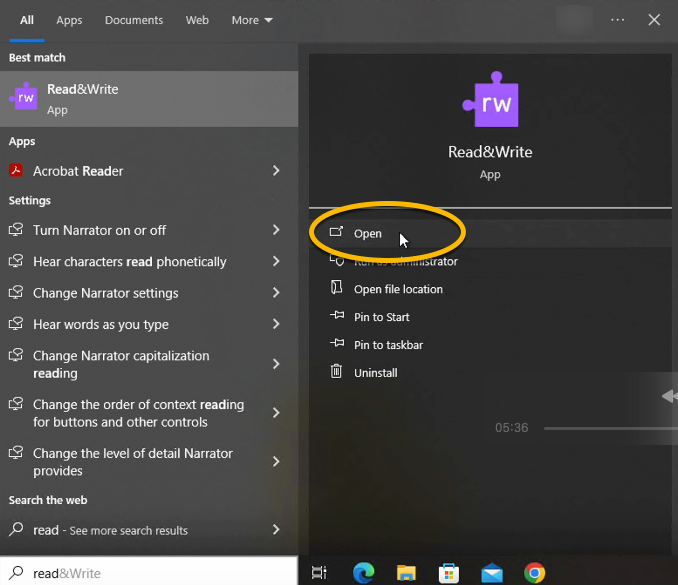
- Read&Write is now installed and activated. You can find and open the application by searching for the program in the search bar.
Note: After installing Read&Write, the desktop folder Read&Write for Windows.zip can be deleted.
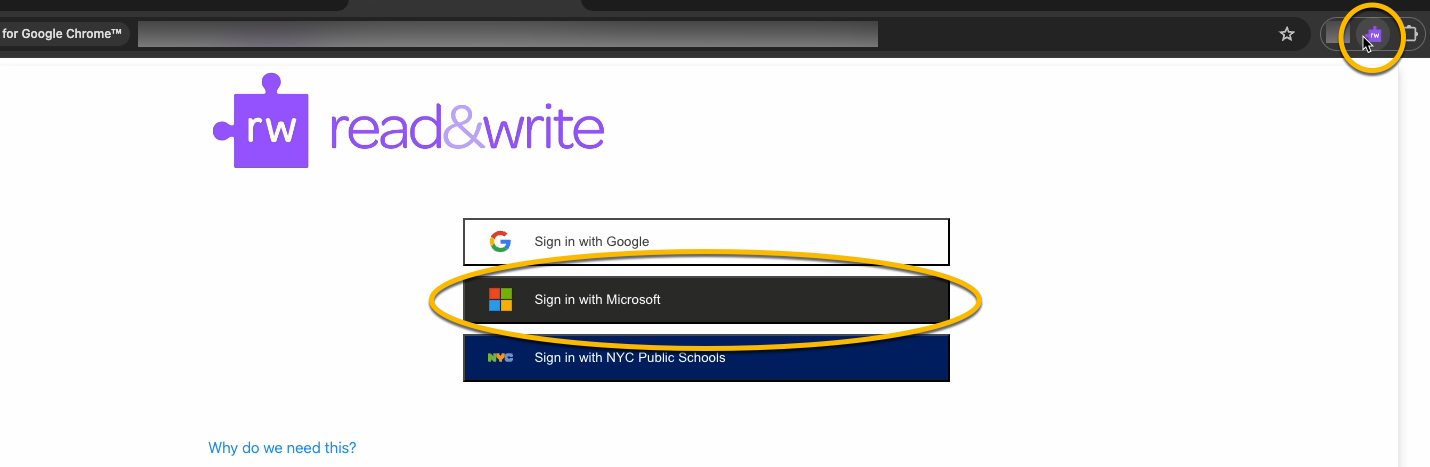
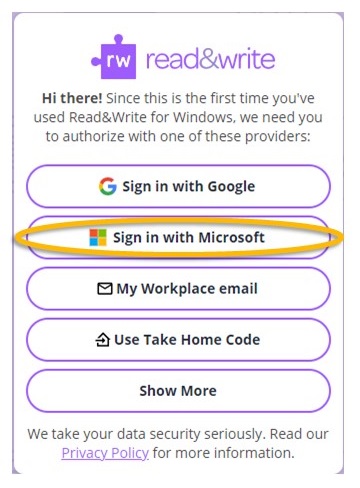
- Read&Write should now pop up like this, click the purple logo to login.

- A login screen should open on your browser window, and you will be asked to sign in. Select “Sign in with Microsoft.”
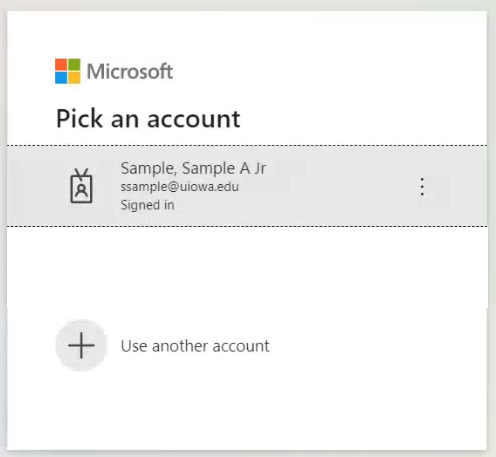
- You will need to sign in with your University of Iowa Microsoft 365 account, so either choose your remembered login or enter your University of Iowa email address.
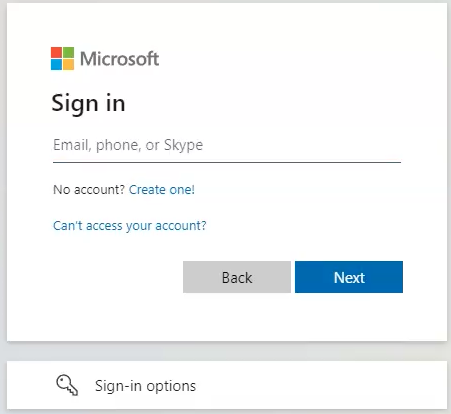
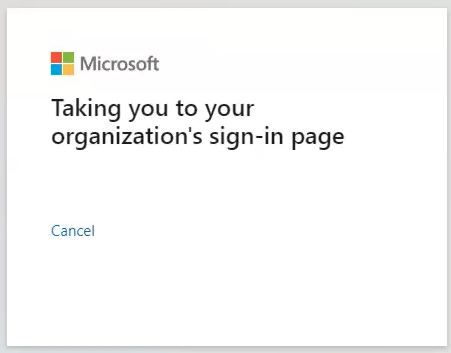
- If you had to enter your University of Iowa email, you will be redirected to use your HawkID and password to login.
- After you are logged in through Microsoft with your HawkID, you will see a confirmation screen. Read&Write will now open the full toolbar on your computer.

MacOS Computers
MacOS Computers
These instructions are for installing Read&Write on personal machines. If you have a managed Ul computer, contact your local support consultants or check Windows Software Center or macOS Self Service first, because the application might already be available.
- Go to the Software Download Site and log in with your HawkID and password.
- Download Read&Write under the Macintosh section.
- Open the file ReadandWrite.dmg.
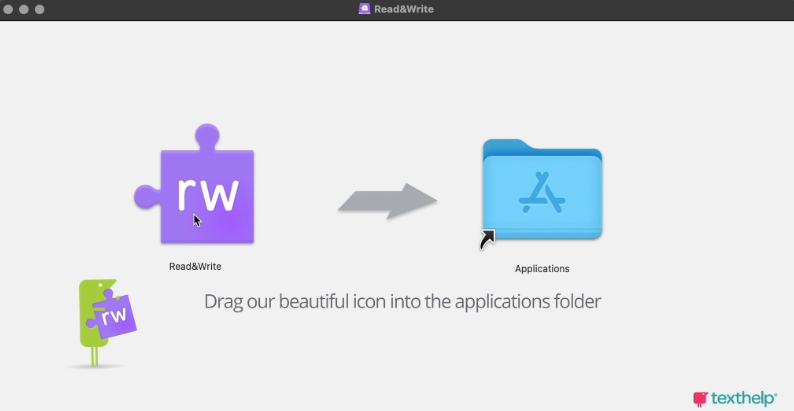
- Drag the Read&Write logo to the Applications folder.
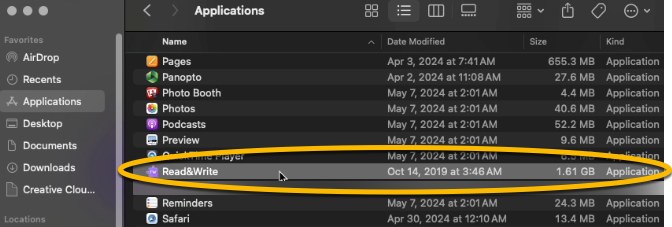
- Read&Write will begin to install. Once complete, navigate to Finder and then open Application and open Read&Write.
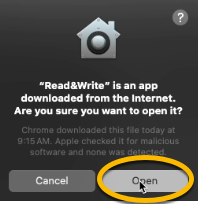
- A pop-up window will appear asking if you are sure you want to open an app downloaded from the internet, choose Open.
- When prompted to log in, choose Sign in with Microsoft and sign-in with your HawkID@uiowa.edu and password.

Google Chrome Extension
Google Chrome Extension
These instructions are for installing Read&Write on managed and personal machines.
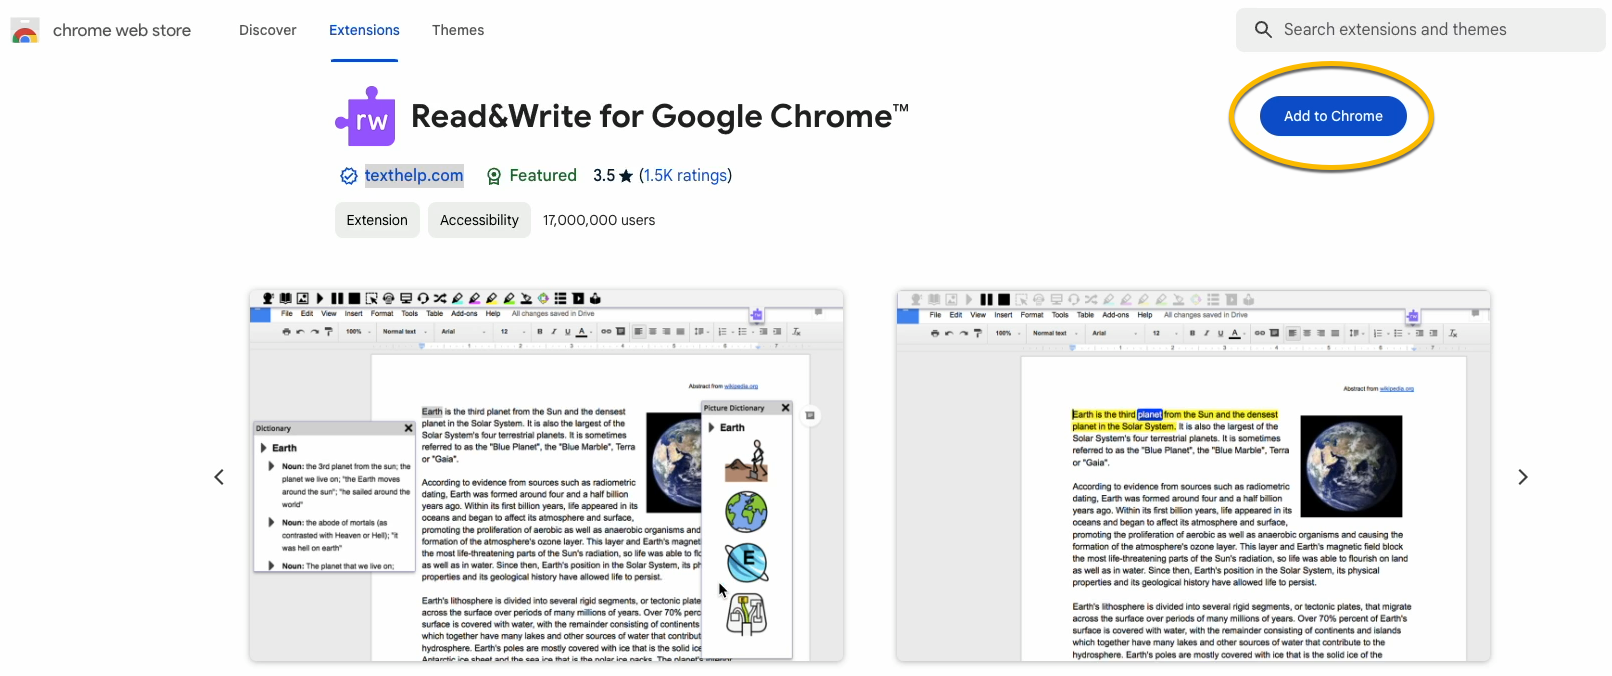
- Navigate to the Chrome Web Store and locate Read&Write for Google Chrome.
- Click on Add to Chrome located in the top right corner.
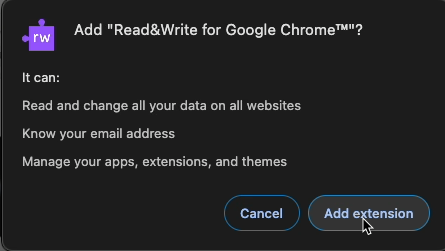
- A pop-up window will appear asking you to confirm the extension installation, select Add Extension.
- Once the extension is installed, click on the Read&Write icon to open the software. When you open Read&Write for the first time, you will be asked to sign in. Select Sign in with Microsoft and sign in with your HawkID and password.